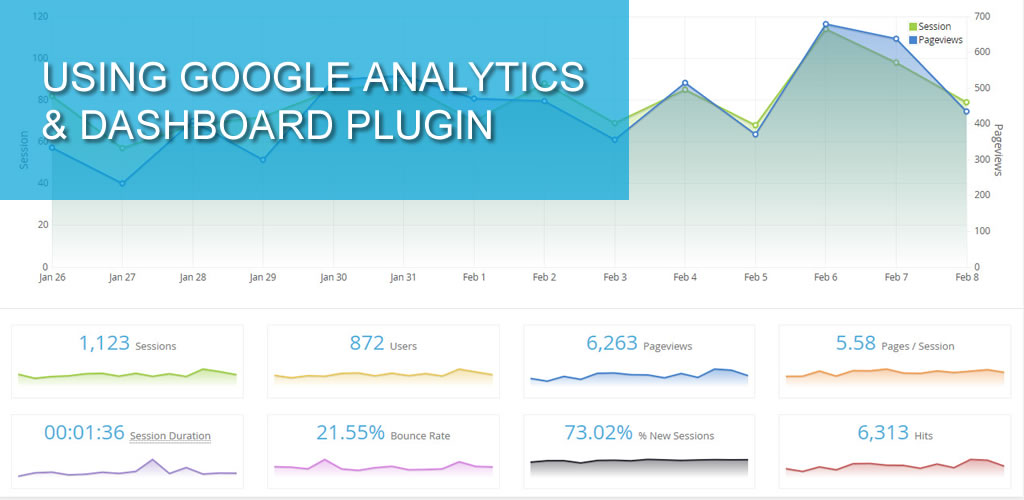
This article will help you put Google Analytics & Dashboard plugin to good use.
The first thing you want to do is enable the plugin. Go to Plugins -> Google Analytics & Dashboard and click "ACTIVATE".

After activation, click on the gear icon to configure the plugin.
Kindly follow the instruction on the set-up page before you proceed with the PLUGIN AUTHORIZATION.
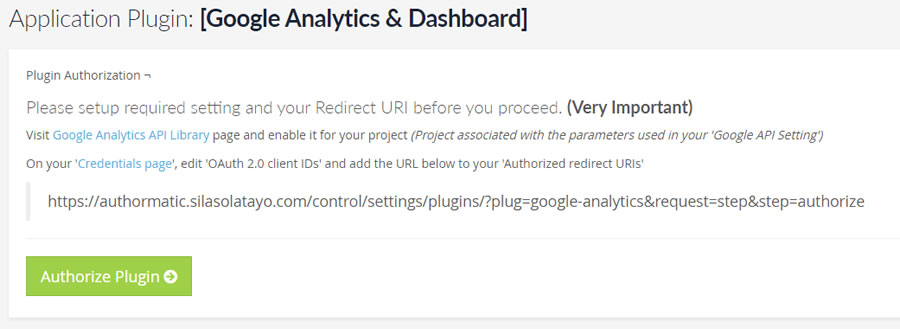
If you need further help with Google API Library, please read this article.
Click 'Authorize Plugin' to give the plugin permission to your analytic data. This will redirect you to Google Account page and you need to select the account associated with your analytics.
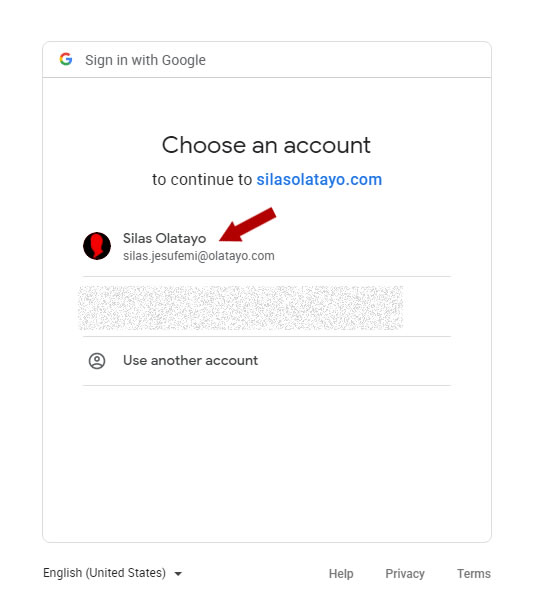
If your APP is not yet verified on Google, you will see a notice screen like this:
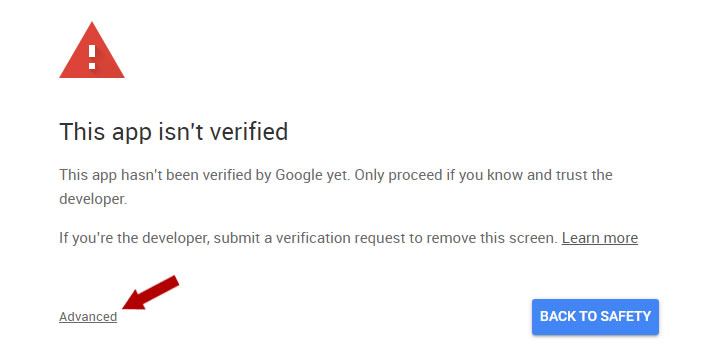
Click on 'Advanced' and then 'Go to yourdomain.com (unsafe)' to proceed. To avoid a notice screen like this, try to verify your APP by following these instructions - https://support.google.com/cloud/answer/7454865
On the next page, confirm your choice by clicking on 'Allow'. This will redirect you back to the plugin set-up page with the option o selecting your analytic data to display.
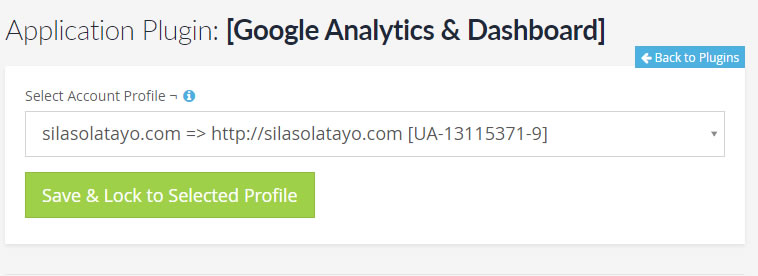
Select your the profile to display and click 'Save & Lock to Selected Profile'.
Once you've lock to the selected profile, you are all set to use GA&D.
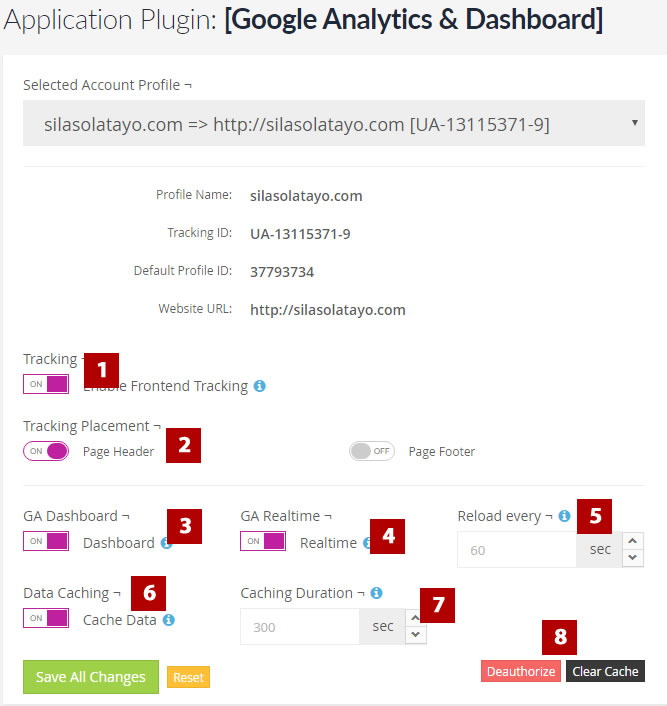
On the settings page, there multiple options you can enable depending on what you want.
1. You can insert Google Analytics code to your front-end with ease by just enabling this button.
2. Your placement is optional too. You can either place the code in the header section of the website or the footer section.
3. With this enabled, you will be able to see your analytics on admin dashboard.
4. Real-time display the number of website current visitors in the admin top bar.
5. With this, you can set the interval to query the real-time data.
6. Data caching can be enabled to avoid querying Google Analytic API every time you reload the dashboard.
7. This is time range you want to store the data.
8. You can De-authorize access to the current profile to select another. Please note that this will require you going through the process all over again. Use the Clear Cache button to clear the current cache.
CONCLUSION:
This plugin gives you easy access to view you daily traffic via Google Analytic Data API. Always remember you need to set the required API parameters in the API settings before proceeding with this plugin set up. You can refer to this article for more information.I hope this article was helpful with the process of getting your Google Analytics & Dashboard plugin up and running; if not, please do not hesitate to contact us for support.
